


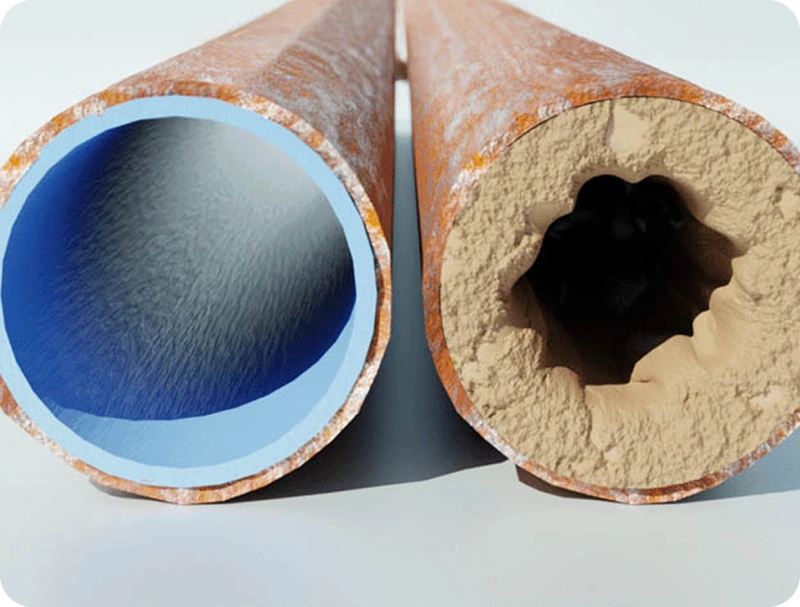
If a plumber has recommended CIPP lining for your sewer or drain line, you’re probably picturing a construction crew tearing up your yard. Good news: that’s exactly what this method avoids. CIPP, short for cured-in-place pipe, repairs a damaged pipe from the inside out, without digging a trench across your property.
As a plumber Toronto homeowners have relied on for over 15 years, Premier Plumbing has installed CIPP liners across the GTA on everything from century-old clay sewer laterals to cracked cast iron stacks in condo buildings. This guide walks through exactly how the process works, from the first camera inspection to the final flow test.
What Is CIPP Pipe Lining?
CIPP lining is a trenchless pipe repair method that creates a new, jointless pipe inside your existing one. Instead of removing the old, damaged pipe, a resin-saturated liner is inserted into it, inflated against the pipe walls, and hardened in place. The result is a smooth, seamless pipe-within-a-pipe that can last 50 years or more.
It’s one of several trenchless repair options available to Toronto homeowners, and it’s often the least disruptive way to fix a failing sewer line, storm drain, or interior stack.
Step-by-Step: How CIPP Pipe Lining Actually Works
1. Camera Inspection and Diagnosis
Before any lining work begins, a plumber runs a sewer camera through the pipe to assess the damage. This tells the technician the pipe’s material, diameter, length, and the location and severity of any cracks, offsets, or root intrusion. Not every pipe is a good candidate for lining, if you’re unsure whether your situation qualifies, our post on what makes a pipe eligible for trenchless repair breaks down the criteria in detail.
2. Cleaning the Pipe
The existing pipe has to be completely clear before a liner can bond to it. Technicians use hydro-jetting equipment to blast away roots, scale, grease, and debris, leaving a clean interior surface. This step matters more than most homeowners realize, a liner installed over debris won’t adhere properly and can fail early.
3. Sizing and Saturating the Liner
A felt or fiberglass tube liner is custom-cut to match the exact length and diameter of the damaged pipe section. That liner is then saturated with a thermosetting resin, either epoxy or vinyl ester, depending on the pipe’s condition and application. This resin is what eventually hardens into the new pipe wall.
4. Inserting the Liner
The saturated liner is inserted into the damaged pipe through an existing access point, such as a cleanout or an inspection hole. There’s no need to excavate your driveway, garden, or basement floor to get it in place, which is the main reason this method has become so popular for drain and sewer repairs across older Toronto neighbourhoods.
5. Inflating the Liner Against the Pipe Walls
Once positioned, the liner is inflated using air or water pressure, pressing the resin-soaked material firmly against the interior walls of the old pipe. This step is what allows the liner to conform tightly to bends, offsets, and irregularities in the original pipe, rather than requiring a perfectly straight run.
6. Curing the Resin
The resin is then cured using hot water, steam, or UV light, depending on the equipment and liner type. Curing hardens the resin into a rigid, corrosion-resistant new pipe wall bonded to the inside of the old one. Curing times vary from a couple of hours to most of a day, depending on pipe length and diameter.
7. Final Inspection and Reconnection
Once the liner has fully cured, the crew re-cuts any lateral connections (like branch lines from a main sewer) using a robotic cutter, then runs a final camera inspection to confirm the new pipe is smooth, sealed, and free of defects. At this point, the line is ready to be put back into service.
CIPP Lining vs. Other Repair Methods
CIPP isn’t the only trenchless option, and it isn’t always the right one. Pipe bursting, for example, physically breaks apart the old pipe while pulling a new one into place, which is a better fit for pipes that are too collapsed or misaligned for a liner to work. We’ve laid out the differences in more detail in our comparison of CIPP lining vs. pipe bursting, including which situations favour each method.
How Long Does CIPP Lining Take?
Most residential CIPP jobs are completed in a single day, from initial camera work to final cure. Larger commercial lines or multiple-section repairs can take longer. Compare that to traditional excavation, which can take several days and requires restoring landscaping, driveways, or flooring afterward.
Is CIPP Lining Right for Your Pipes?
CIPP lining works well for pipes with cracks, minor root intrusion, corrosion, or small offset joints, as long as the pipe hasn’t fully collapsed and still has enough structural integrity to support the liner. A camera inspection is the only reliable way to know for sure.
If you’re dealing with recurring backups, slow drains, or a plumber has flagged your sewer line for repair, it’s worth getting a proper inspection before deciding on a fix. Our team offers camera diagnostics as part of our drain services across Toronto and the GTA.
Why Homeowners Across the GTA Choose Premier Plumbing for CIPP Lining
Premier Plumbing is a licensed Toronto plumber with more than 15 years of experience and 2,500+ completed projects, including trenchless sewer and drain repairs for homeowners and businesses throughout the city. Our technicians use camera inspection equipment to properly diagnose every pipe before recommending a repair method, so you’re never paying for work you don’t need.
We serve homeowners not just in the downtown core but throughout the wider region, including North York, Scarborough, Etobicoke, East York, and Mississauga.
Get a CIPP Lining Estimate in Toronto
If a camera inspection has flagged issues with your sewer or drain line, don’t wait for a full collapse. Contact Premier Plumbing for a free estimate, or call our team to schedule a camera inspection and find out whether CIPP lining is the right fix for your pipes.
Frequently Asked Questions
How long does CIPP pipe lining last?
A properly installed CIPP liner typically lasts 50 years or more, comparable to a full pipe replacement.
Does CIPP lining require digging up my yard?
In most cases, no. The liner is inserted through existing access points like cleanouts, which is what makes it a trenchless repair method.
Is CIPP lining more expensive than pipe replacement?
CIPP lining is often more cost-effective than full excavation and replacement, since it avoids the cost of digging, restoring landscaping, and repaving driveways or walkways.
Can CIPP lining fix a fully collapsed pipe?
No. If a pipe has completely collapsed, pipe bursting or traditional replacement is usually required instead.


